

- Published on
Unlocking the Powers of Spotify's SDK with IOS on Swift 5
- Authors
- Name
- Garrett Hughes
- @garretthughes


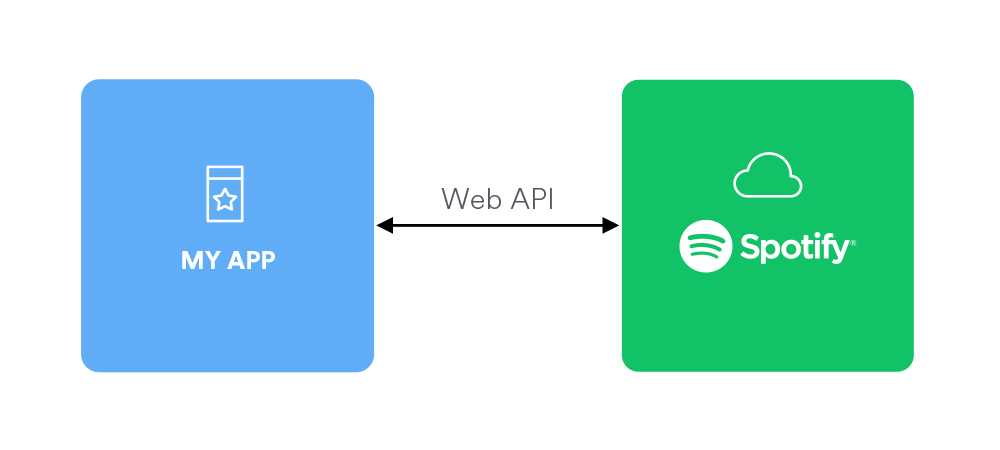
This will be a tutorial on how to connect Spotify’s SDK. This was an overly complex journey for me, so hopefully this mitigates issues you may be having. I don’t normally write Swift (or spend time in iOS land) so bear with me if you see nonconventional practices and feel free to comment on them! I’m going to water this down as much as possible so people can go through step by step at a slow (or fast) rate.

Step 1
We need to get the environments up to speed. You’ll first need to create a new iOS app. There’s tons of tutorials on that so I’ll leave this part to you. A quick how-to can be found here.
Step 2
You’ll need to create a developer account and register your account. You can click here to signup. Once you are in the account you’re going to want to create a new client ID.
Step 3
We now need to update some of the settings in your client on the dashboard. Click the “Edit Settings” button in the top right:
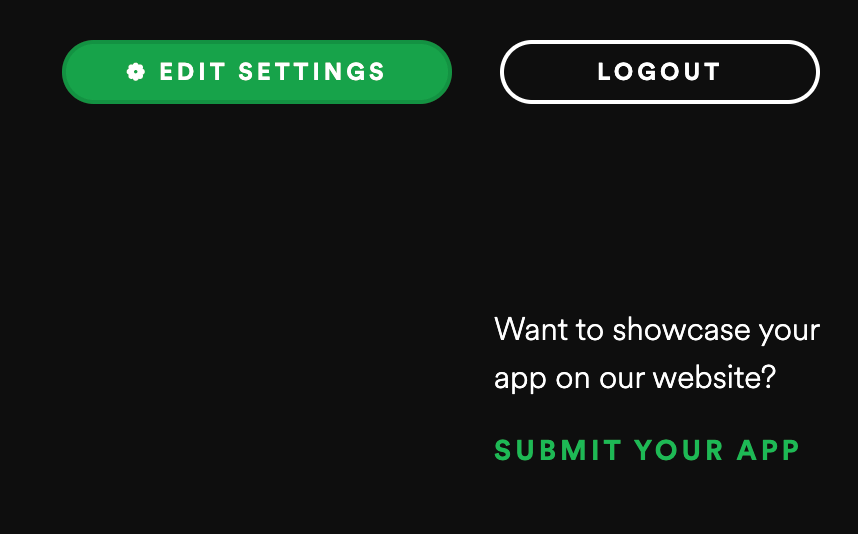
Click the edit settings button in the top right of your client dashboard
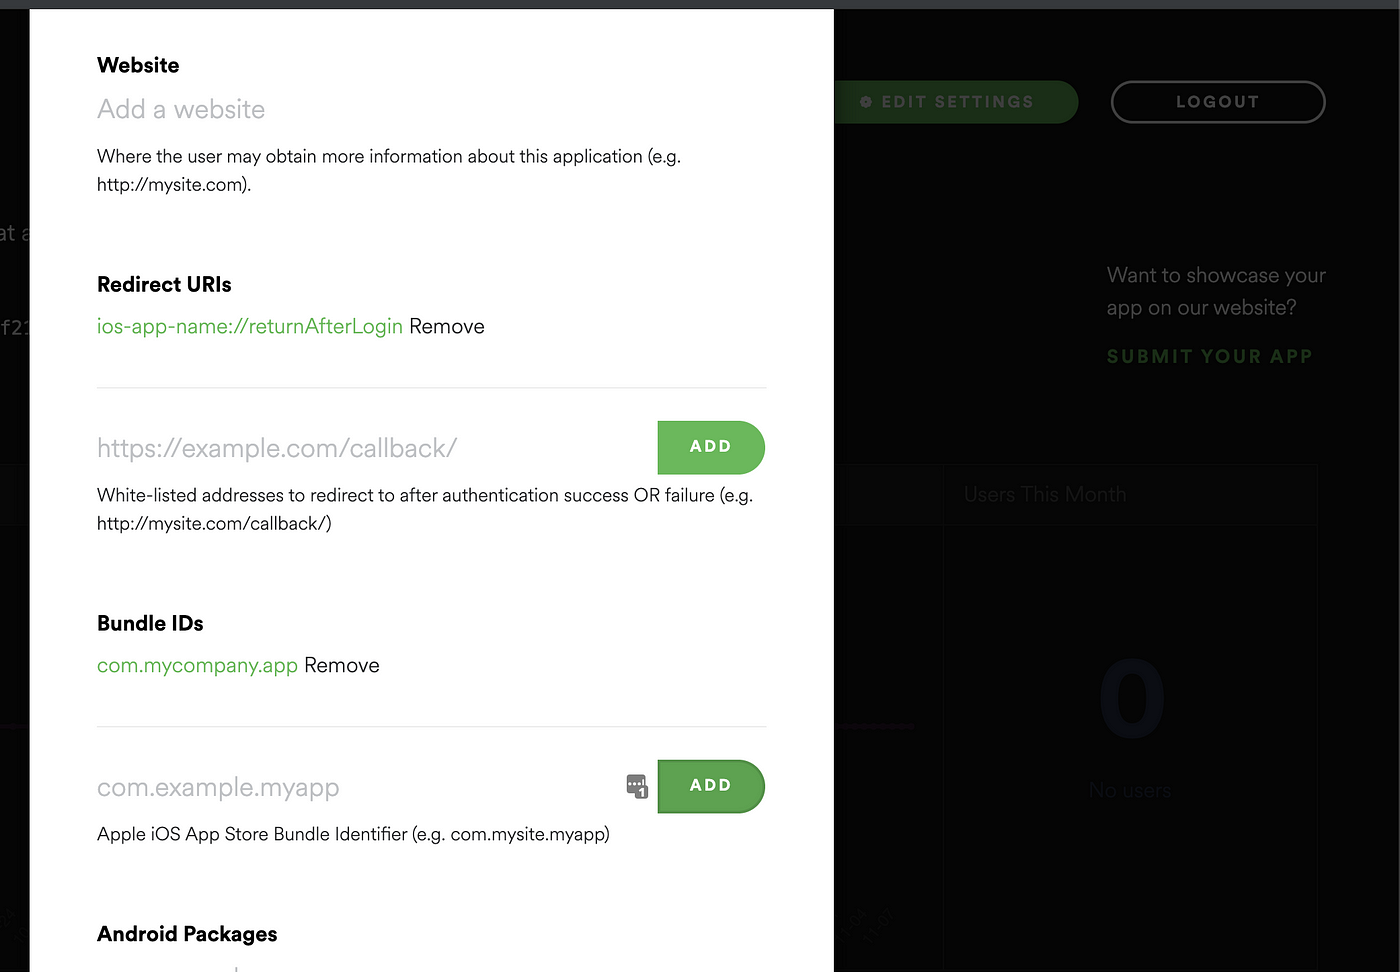
and you should see something similar to:

Let’s update Redirect URIs to:
ios-app-name://returnAfterLogin
And update Bundle IDs (you’ll find this in your iOS project under General->Identity).
com.mycompany.app
Step 4
Save your client id and client secret for later. We’ll need those guys.

Step 5
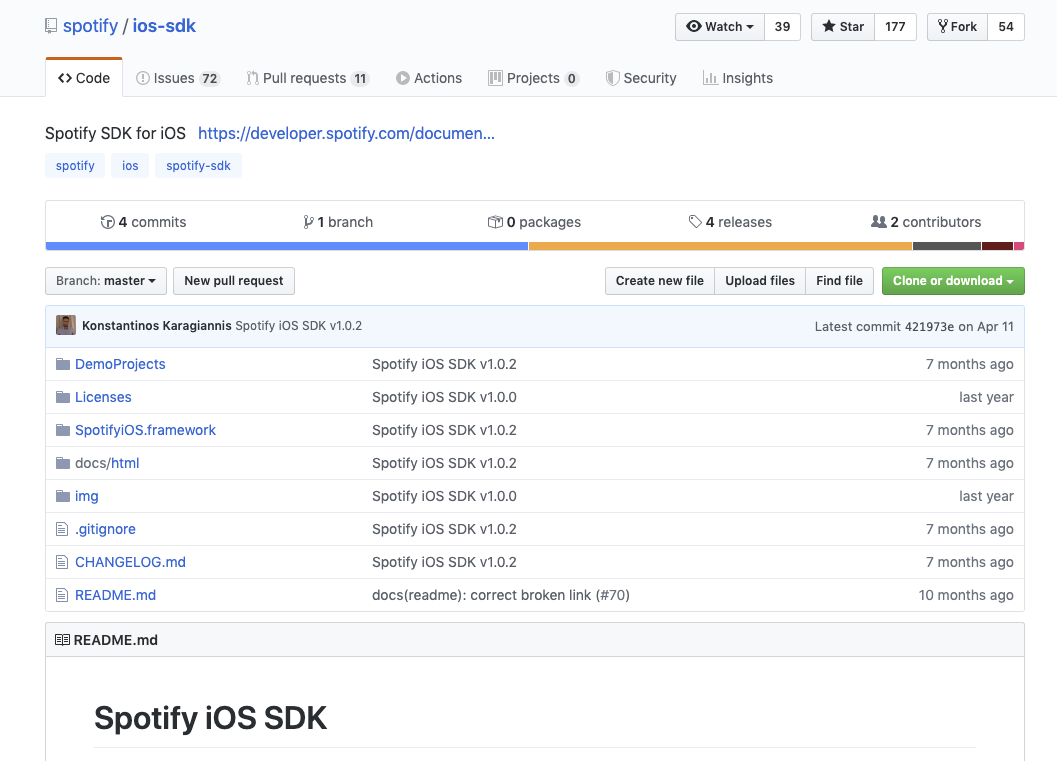
Let’s download the iOS SDK. This will be a folder of files (you can git clone or download and unzip). Here is the link.
Step 6
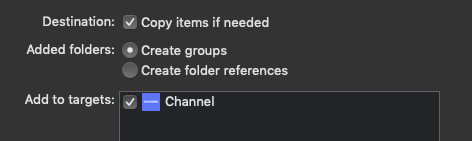
Next we’ll need to import the framework. For me the easiest is to drag the directory SpotifyiOS.framework into the Frameworks directory.
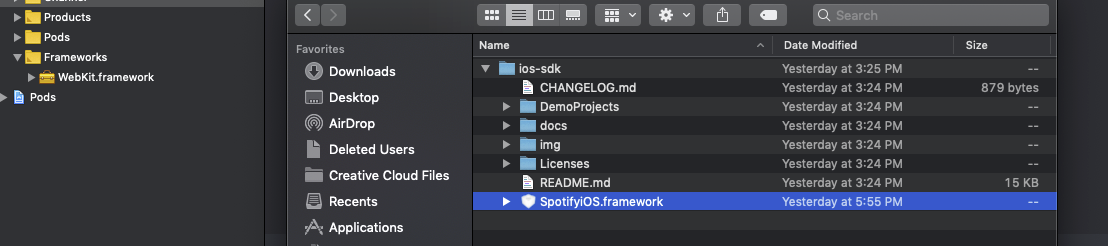
And then make sure your settings match to the below:
Step 7
Add URL types and LSApplicationQueriesSchemes to the following.

For the URI scheme. I did this:

Step 8
Now we need to set up -ObjC flag. From my limited knowledge of iOS this allows us to compile Objective-C code that is in the Spotify SDK. To access this Go to your navigator, click you project usually the highest in the directory structure, it won’t have a folder icon), Click Build Settings, then search for other linker flags and type in -ObjC

Step 9
Now we need to create a bridging header. This lets us use Objective-C binaries inside of our swift app. You’ll put this at your root and call this {appName}-Bridging-Header.h. You’ll want to put the following in the file.
#import <SpotifyiOS/SpotifyiOS.h>
and it should look like this:

Thrilling, I know
Step 10
We now need to let our app know this file exists. Let’s update the Objective-C Bridging Header setting to have our location. You’ll want to go back to Build Settings (you can use same steps from Step 8). Yours should look similar to:

Alright we’re making some progress, let’s add some auth.
Step 11
Let’s add some things to the AppDelegate. We’ll start by adding SPTAppRemoteDelegate and SPTAppRemotePlayerStateDelegate after UIApplicationDelegate

Step 12
Let’s add our client ID and Spotify redirect url and a public variable named accessToken. Your class should now look like the following:

Step 13
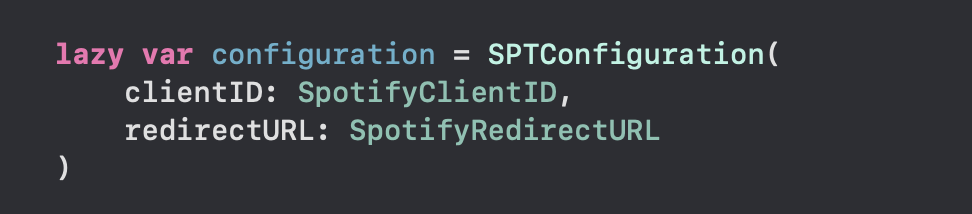
Time to instantiate some things! Let’s add a lazy variable called configuration up at the top of the class below our variables.
Step 14
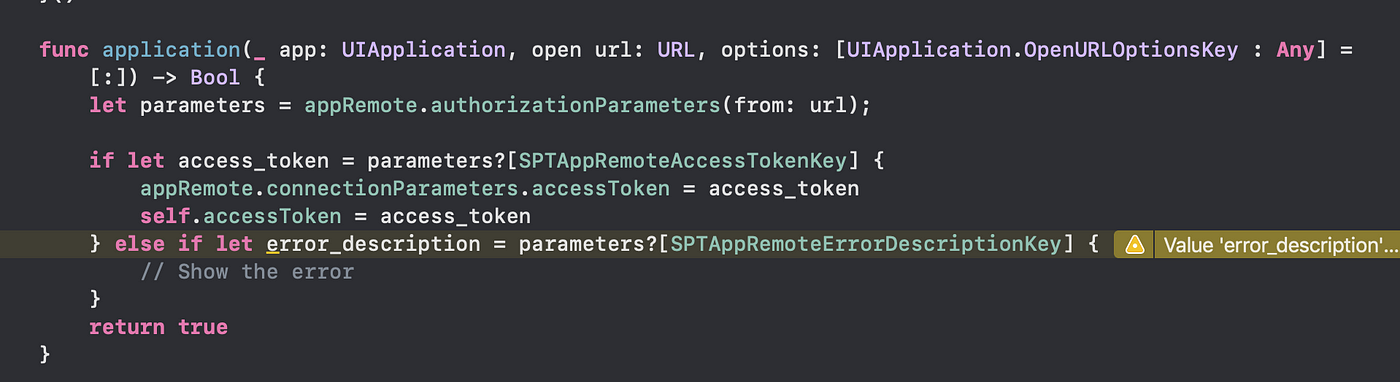
Let’s make a call to get some data. Add this below the above configuration variable:

and let’s update the application function to the following:
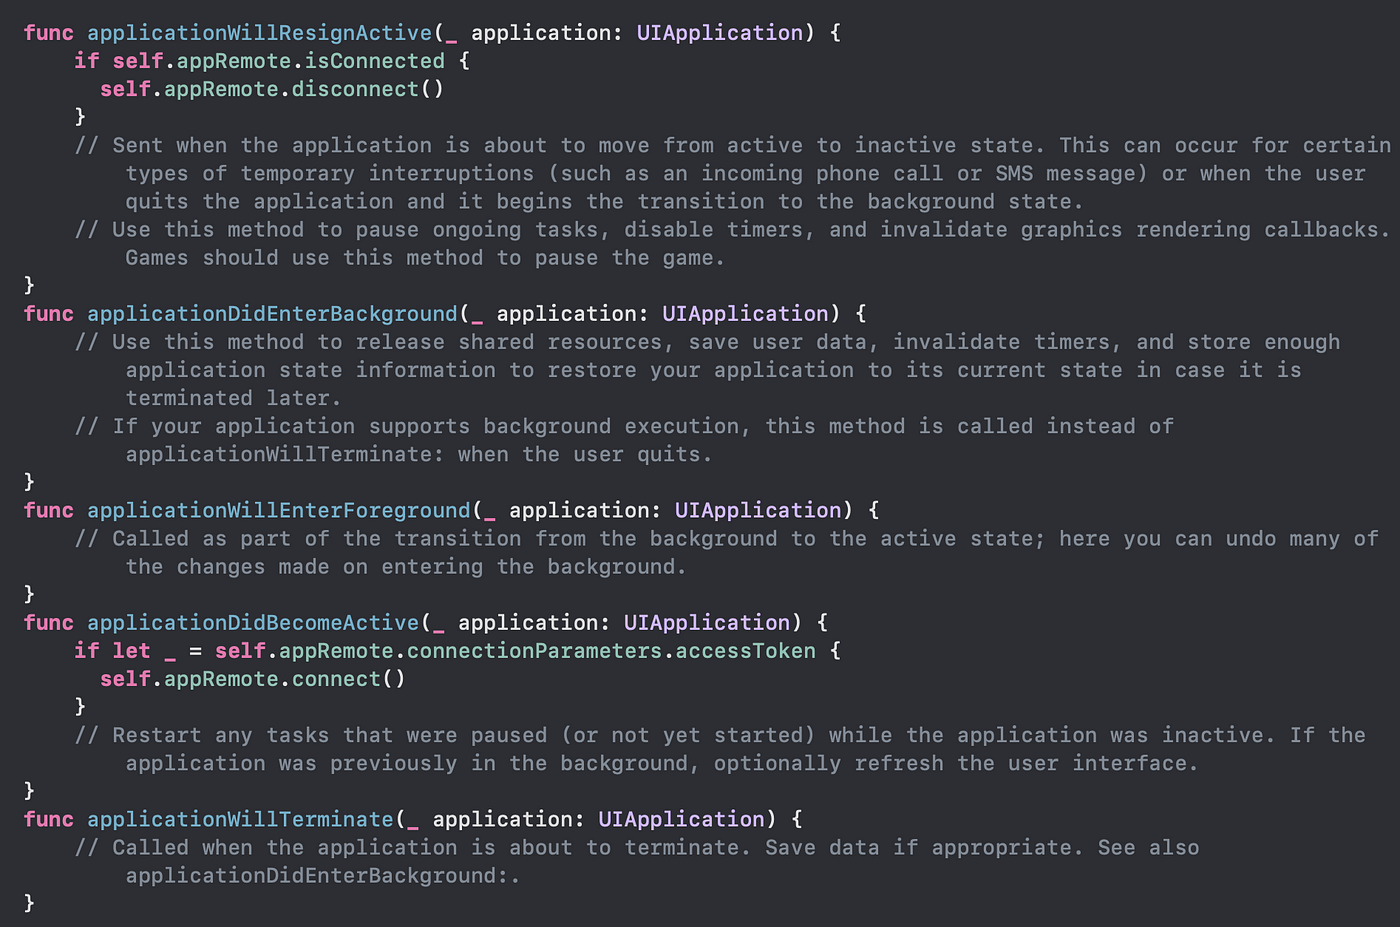
Step 15
Time to update/add some new lifecycle methods into appDelegate.
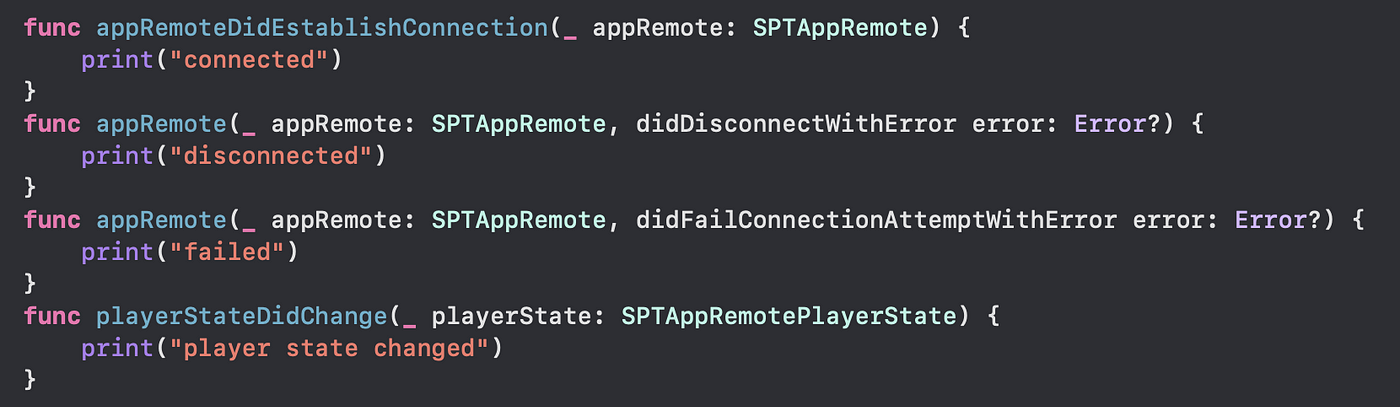
Step 16
And finally let’s use this code somewhere!

Hope this was useful. I struggled setting this up as the Spotify’s docs were mediocre at best and this would’ve helped a ton. If you want more scopes you’ll have to add some more work but this should get you started! Happy coding!