

- Published on
How to use Netlify’s form with GatsbyJs to have seamless form submissions with no server
- Authors
- Name
- Garrett Hughes
- @garretthughes


If you’re looking for a way to submit forms with no backend setup, look no further than Netlify’s form submission feature. On their free tier you get 100 submission per month (aggregate of all forms) and can add one of three options: an outgoing webhook, slack integrations and/ or email notifications. On their paid plan you have access to Zapier which can integrate with a plethora of web apps. Given the large amount of web development resources readily available, I had a difficult time finding a good tutorial on how to accomplish this. That said, my goal for this article is to show you how you can utilize Netlify’s form feature to handle your form submissions.
Step one: Create a new Gatsby starter project.
These are straight from the Gatsby docs, but essentially you are globally installing Gatsby’s cli tool. Next we are creating a new project with the gatsby new project name} command.
npm install --global gatsby-cli
gatsby new gatsby-netlify-form
cd gatsby-site
Step two: Open the project in your favorite IDE and navigate to src/pages/index.js
There’s a lot about GatsbyJs framework that I’m not going to go into here. I’m assuming you are here because you know or have at least used the framework. If you are not familiar with GatsbyJs framework, be sure to check out their docs here — you will find a lot of valuable information in there. I’ll be writing an article on the GatsbyJs framework in the upcoming months, so be sure to keep your eyes peeled for that.
Step three: Create the form!
Right below the Link component in index.js we’re going to add the following:
<form method="post" action="#" data-netlify="true" name="contact">
  <input type="hidden" name="form-name" value="contact" />
  <input type="text" name="name" id="name" required />
  <input type="text" name="email" id="email" required />
  <textarea name="message" id="message" rows="4" required />
  <input type="submit" value="Send Message" />
</form>
We are doing the typical POST with no route. You have to add data-netlify=”true”, so during the build Netlify can properly attribute. We then have to add a hidden input name for the form-name. This is due to how GatsbyJs and Netlify work. After that first the value, the remaining inputs are your typical form values.
Step four: Update Netlify
After you’ve built the site, you should see Forms in the nav bar. Click on that and you should see this:
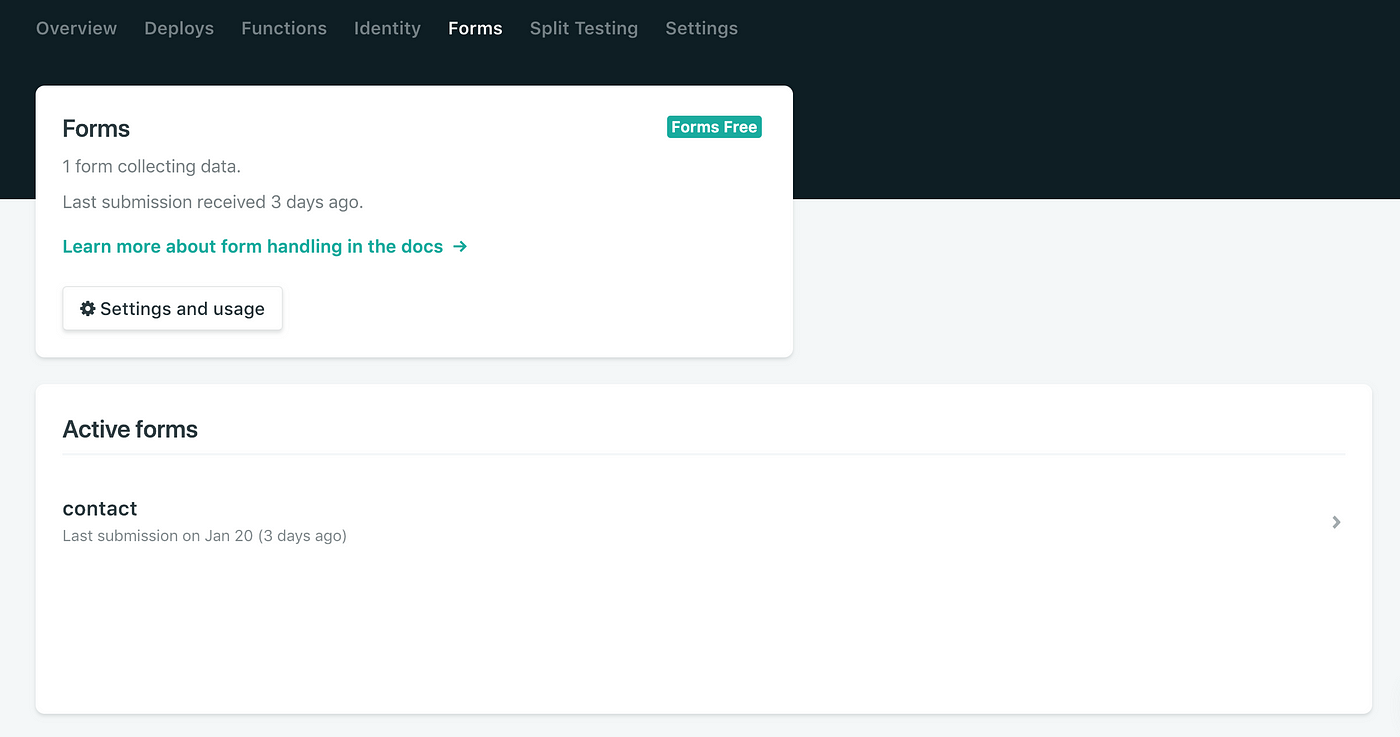
Woah! You’ll see our contact from is the same name we used in the hidden field and on the form name. If we click into that you should see something like:
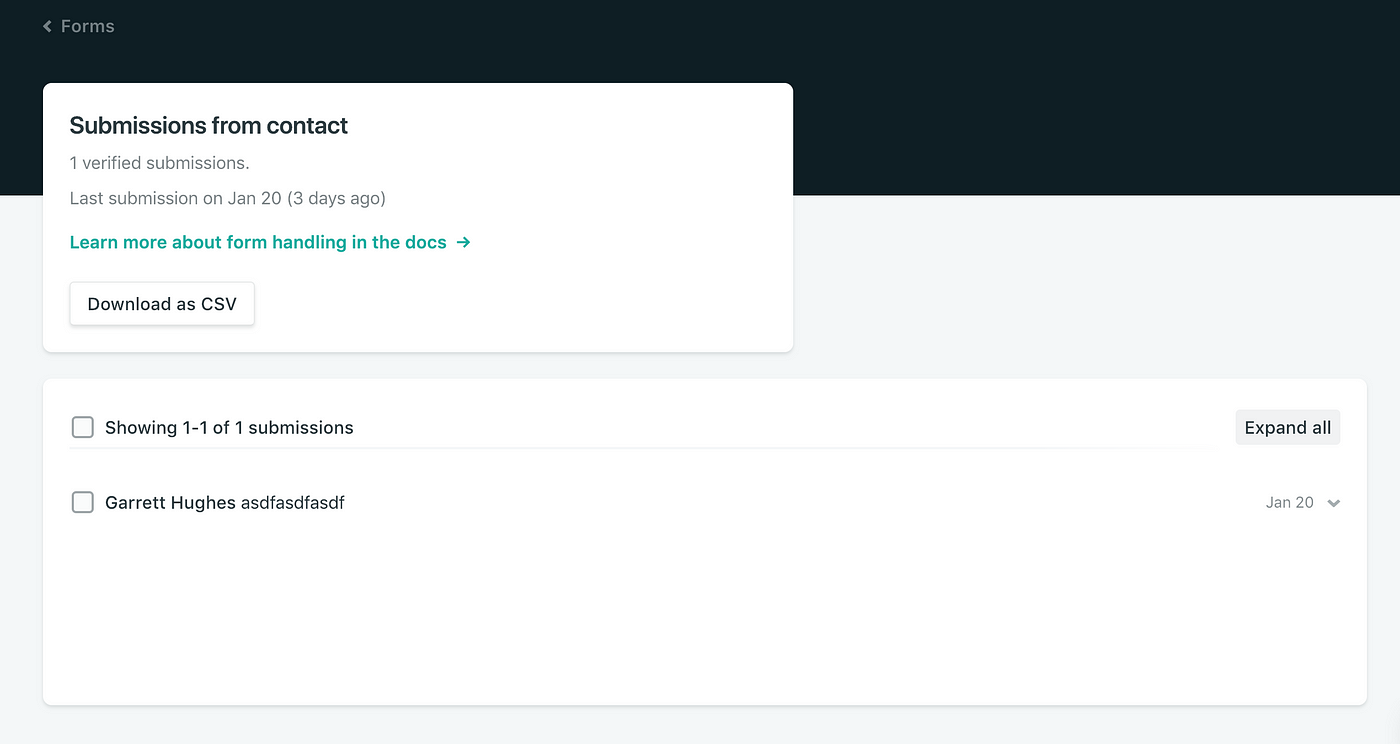
This will be where you can see all of your submissions. As of January 2019 you get 100 submissions free per month. Now I’m sure you’re wondering what you can do with each submission… Click on Settings in the Nav Bar:

and then click on forms here:
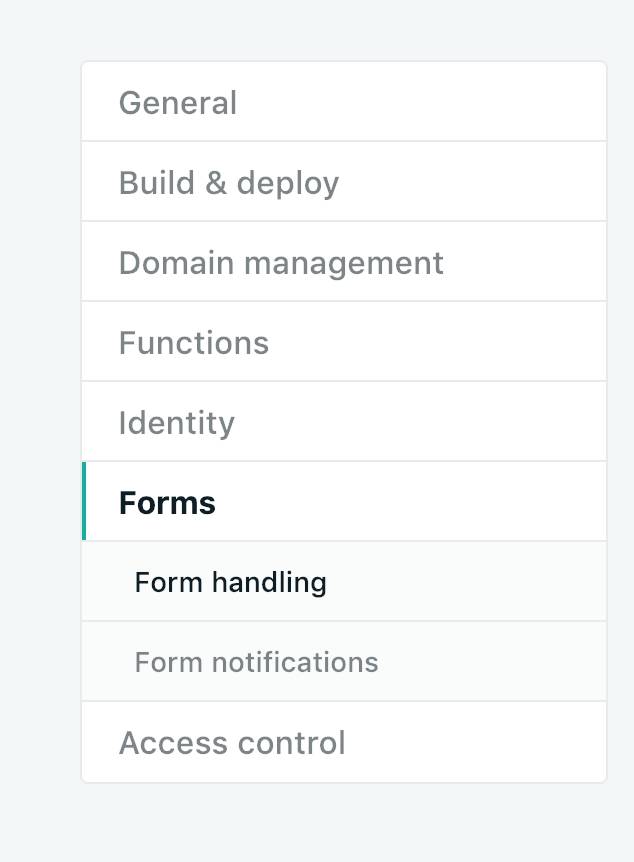
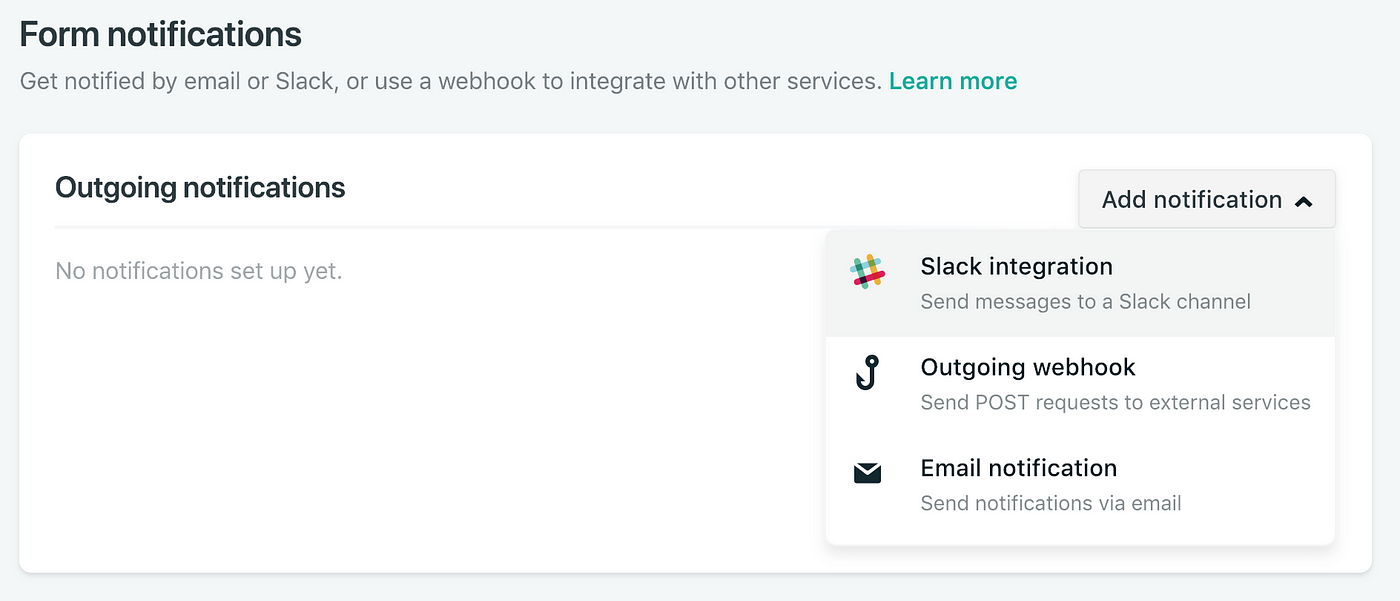
Now you can see how you’re tracking with submissions. Below Form handling you’ll see Form notifications. Here you can either send a POST, a Slack hook or an email. For my contact form I just used a little outgoing email notification and was on my way!
Well, that’s a wrap… If you have any questions don’t hesitate to reach out to me.